Class Groups

Note: This content is no longer updated. For the latest content, please go to the user guide for M-Files Online. For information on the supported product versions, refer to our lifecycle policy.

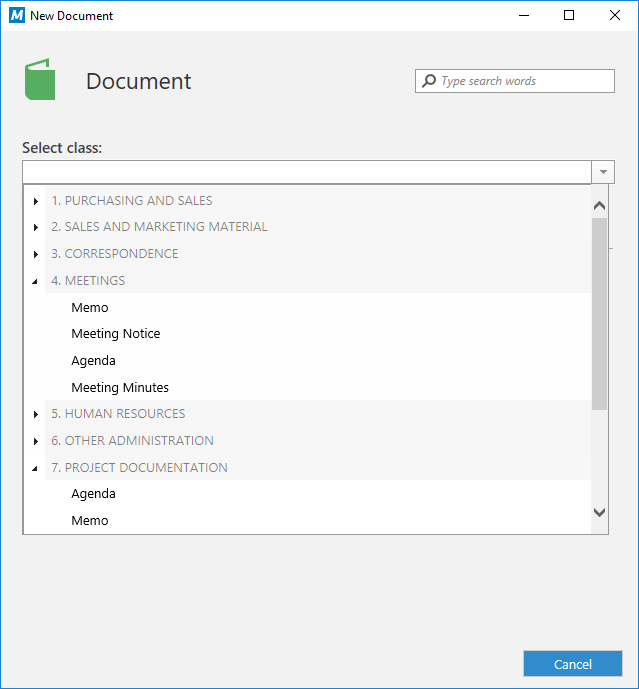
You can create class groups to combine document classes into categories. This makes it easier to select a class when creating a new document. Note that you can create class groups only for the document object type.

Complete the following steps to create a class group:
  1. Open M-Files Admin.
  2. In the left-side tree view, expand a connection to M-Files server.
  3. Expand Document Vaults.
  4. Expand a vault.
  5. Expand Metadata Structure (Hierarchical View), then right-click Document and select New Class Group.
    Result:The Class Group Properties dialog is opened.
  6. In the Name field, enter the name of the new class group.
    Example:The name can be, for instance, 4. Meetings if you are creating a class group that contains classes for documents related to meetings, such as Memo, Meeting Notice or Agenda. Class groups are shown in the class selection drop-down menu in numerical order when you fill in the metadata card. You can easily change the order of the list by using numbers in the beginning of the class group names.
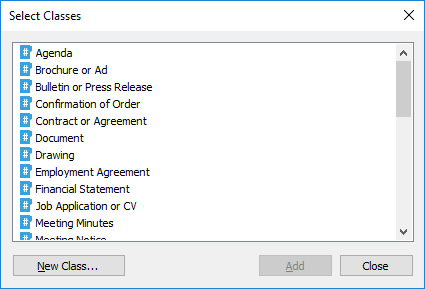
  7. Click Add... to add a class to the new group.
    Result:The Select Classes dialog is opened.
  8. Optional: If you want to create a new class and add it to the new class group, click New Class.
    For more instructions, see Creating a New Class.
  9. Select the classes that you want to add to the new class group and then click Add.
    You can select more than one item at once. Hold down the Ctrl key to select multiple individual items or hold down the ⇧ Shift key to select adjacent items on the list.
  10. Optional: In the Members list, you may select a class and click the or the button to rearrange the order of the classes in the group.
    The ordering affects the order in which the classes in the group are displayed in the class selection drop-down menu when creating a new document.
  11. Optional: In the Members list, select a class and click Edit... to modify its properties.
    For more information on class properties, see New Class.
  12. Optional: If you need to remove a class from the class group, in the Members list, select the group to be removed and click Remove.
    Note that this only removes the class from the class group. It does not delete the class from your vault.
  13. Optional: Open the Permissions tab to specify the users who may see the new class group.
    For further instructions, see Adjusting Permissions.
  14. Click OK to create the class group.

The new class group is from now on shown in the class selection drop-down menu when creating a new document.