Note: This content is no longer updated.
For the latest content, please go to the user guide for M-Files Online. For information on the supported product
versions, refer to our lifecycle policy.
Complete the following steps
to add a connector to a vault on the M-Files Server computer:
Open M-Files Admin.
In the left-side tree view, expand a connection to M-Files server.
Expand Document Vaults.
Right-click a vault.
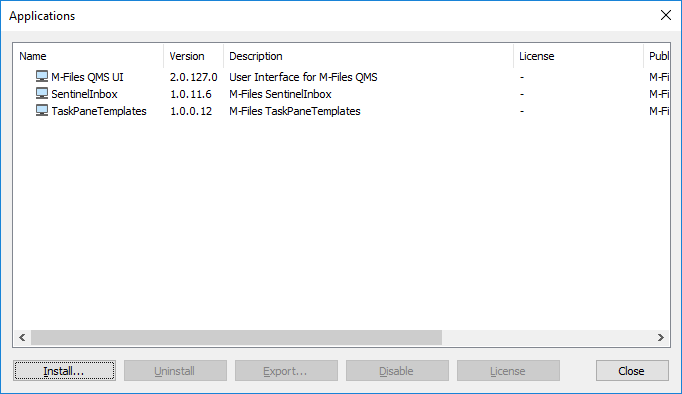
Click Applications.
Result:The Applications window is opened.
Click the Install... button.
Locate the application package stored on your computer and click
Open.
Result:You are prompted to restart the document vault.
Click Yes at the prompt.
If you have any open sessions in the selected vault, you are prompted to close
any open sessions. Click Yes.
The selected connector is installed and should be listed in the
Applications window. After the connector has been successfully
installed, it should be configured. For instructions on configuring a connector, see
Configuring a Connector.